

Last Sunday three of Posties Rejects turned up at the usual haunt for a practise game using a new set of rules. Now the most amazing thing about the game, was the long lost Reject Ian turned up for a game, which was quite handy as he was the ref for the day, and we were using his figures and terrain! For the last couple of years Ian's been a bad reject and not turned up at Mansion Postie for any games, so it was a pleasure (?) to see him.
The previous Thursday Ian came and setup the game in Posties shed and what a delightful game it was too, I can say that, because history is written by the winners and that was me, I'm sure Fran (The Angry Lurker), will also try and claim victory gabling on about me giving in before any dice were thrown, but he's ginger and therefore a liar in my book!!! He may also go on about bad dice roles or even good dice rolls, but its just sour grapes!!
Anyway on with the game, I was in charge of a medium sized, German army, including a few Tigers, Panthers Panzer IV's and not a lot of infantry, now Fran will likely say that, this is a goddam lie and I'm a cheatin' ba$tarrd. Let's just say the Russian commanders Franski and Postielov were shot by firing squad the next day due to the failure to take the town and bridge at Kostschin, (pronounced koost-stin). I, Raystein, was raised to a hero of the Fatherland for my gallant defence of Kostschin, against the overwhelming forces of the Soviets.
 |
| The destroyed town of Kostschin, on the River Odra |
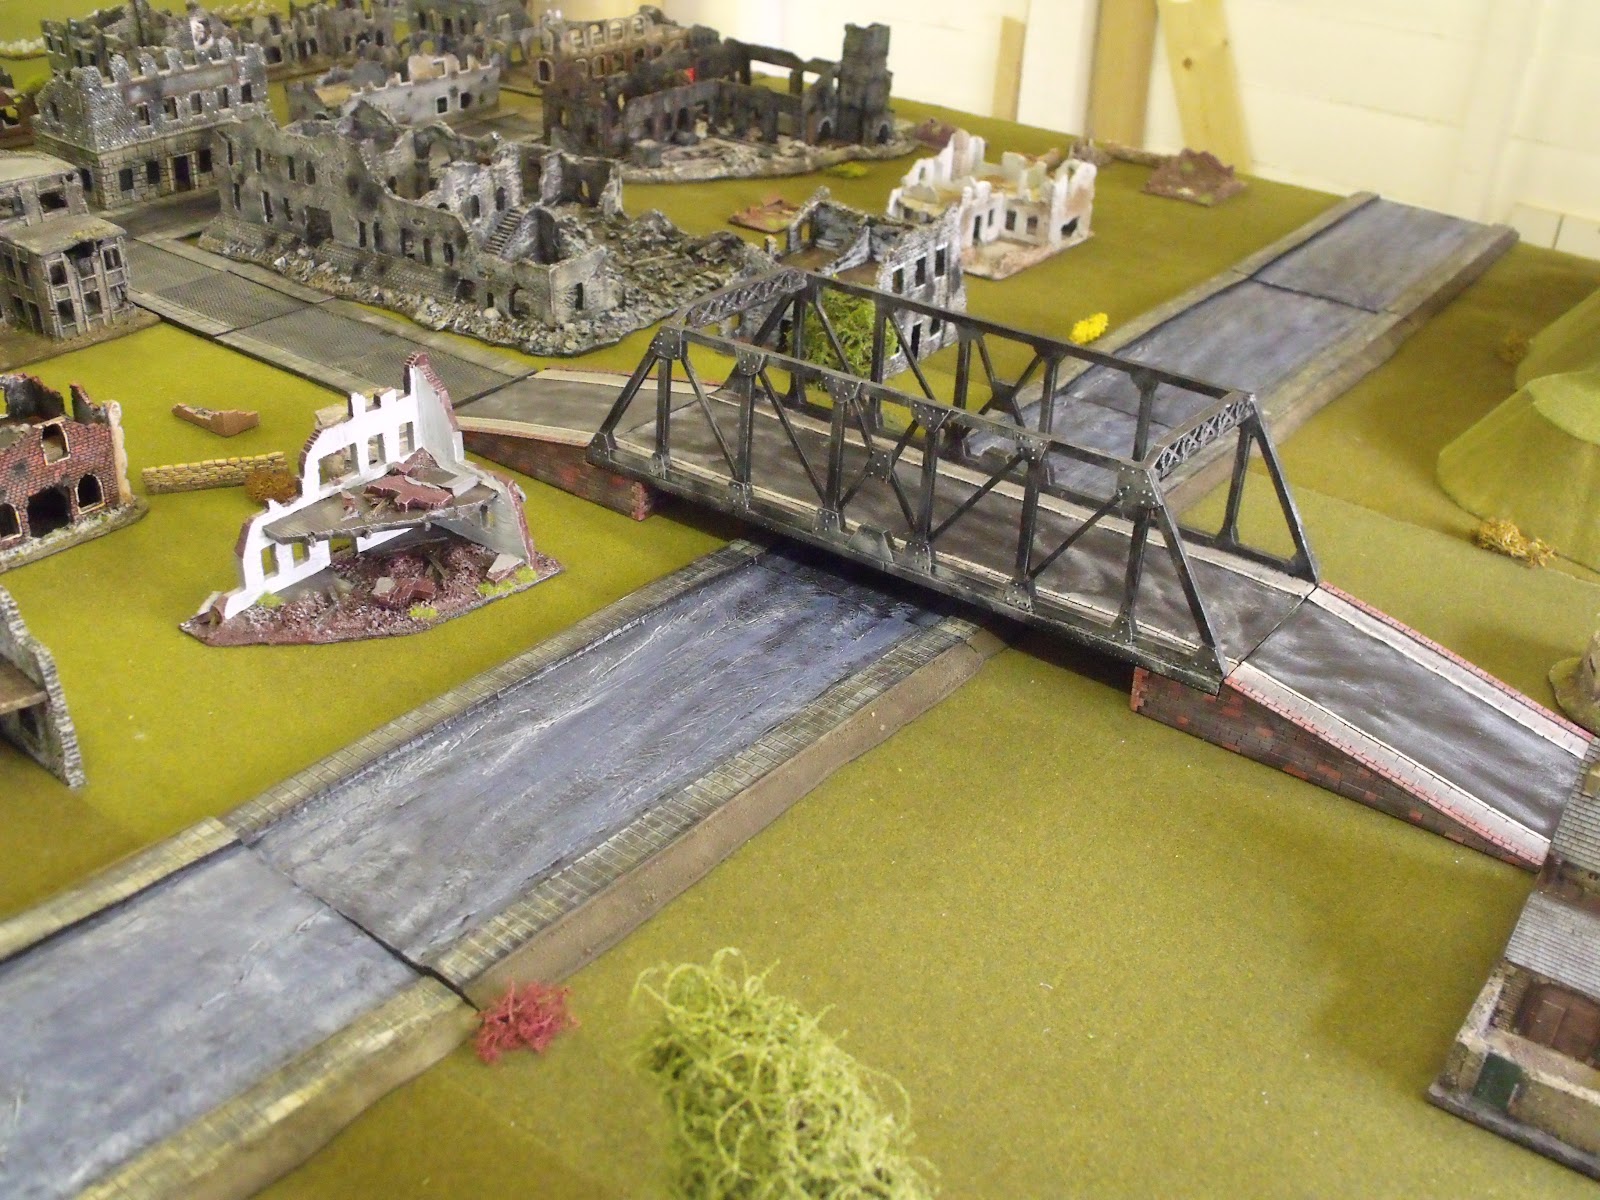 |
| The Bridge |
 |
| Where shall I hide my troops?? |
 |
| The Pillbox at the bottom left of the picture, was the Russian objective, which was quite a long way away, (he he!!!) |
 |
| Another shot of the town |
 |
 |
| So in true WWII style I placed my hull down markers on three Tigers!!! I must admit I through a little bit of a wobbler, and wanted to strangle Ian for not telling me. Fran and Postie graciously decided not to let me remove them and carried on laughing anyway!! |
 |
| The Russian hordes advance. Posties T34/76's and T34/85'S and supporting infantry double move, while in the background you can just make out Frans's T34/87's and ISU 152's also with tons of infantry. |
 |
Posties troops advancing. The figurers in line behind the tank are actually on the tank. German re-enforcements. 4 Panzer IV's arrive at the bridge  A Panzer eye view up the road  Russian infiltrators arrive behind the German lines.  A view of the back of Kostschin. The Russian infiltrators are hiding in the building at the bottom left, while the wrecked building in the centre is defended by a small German squad.  (Cough!) A hulled Tiger awaiting the Russian infantry assault. Fortunately the Russians didn't receive any cover bonus hiding behind the giant yellow tape-measure. 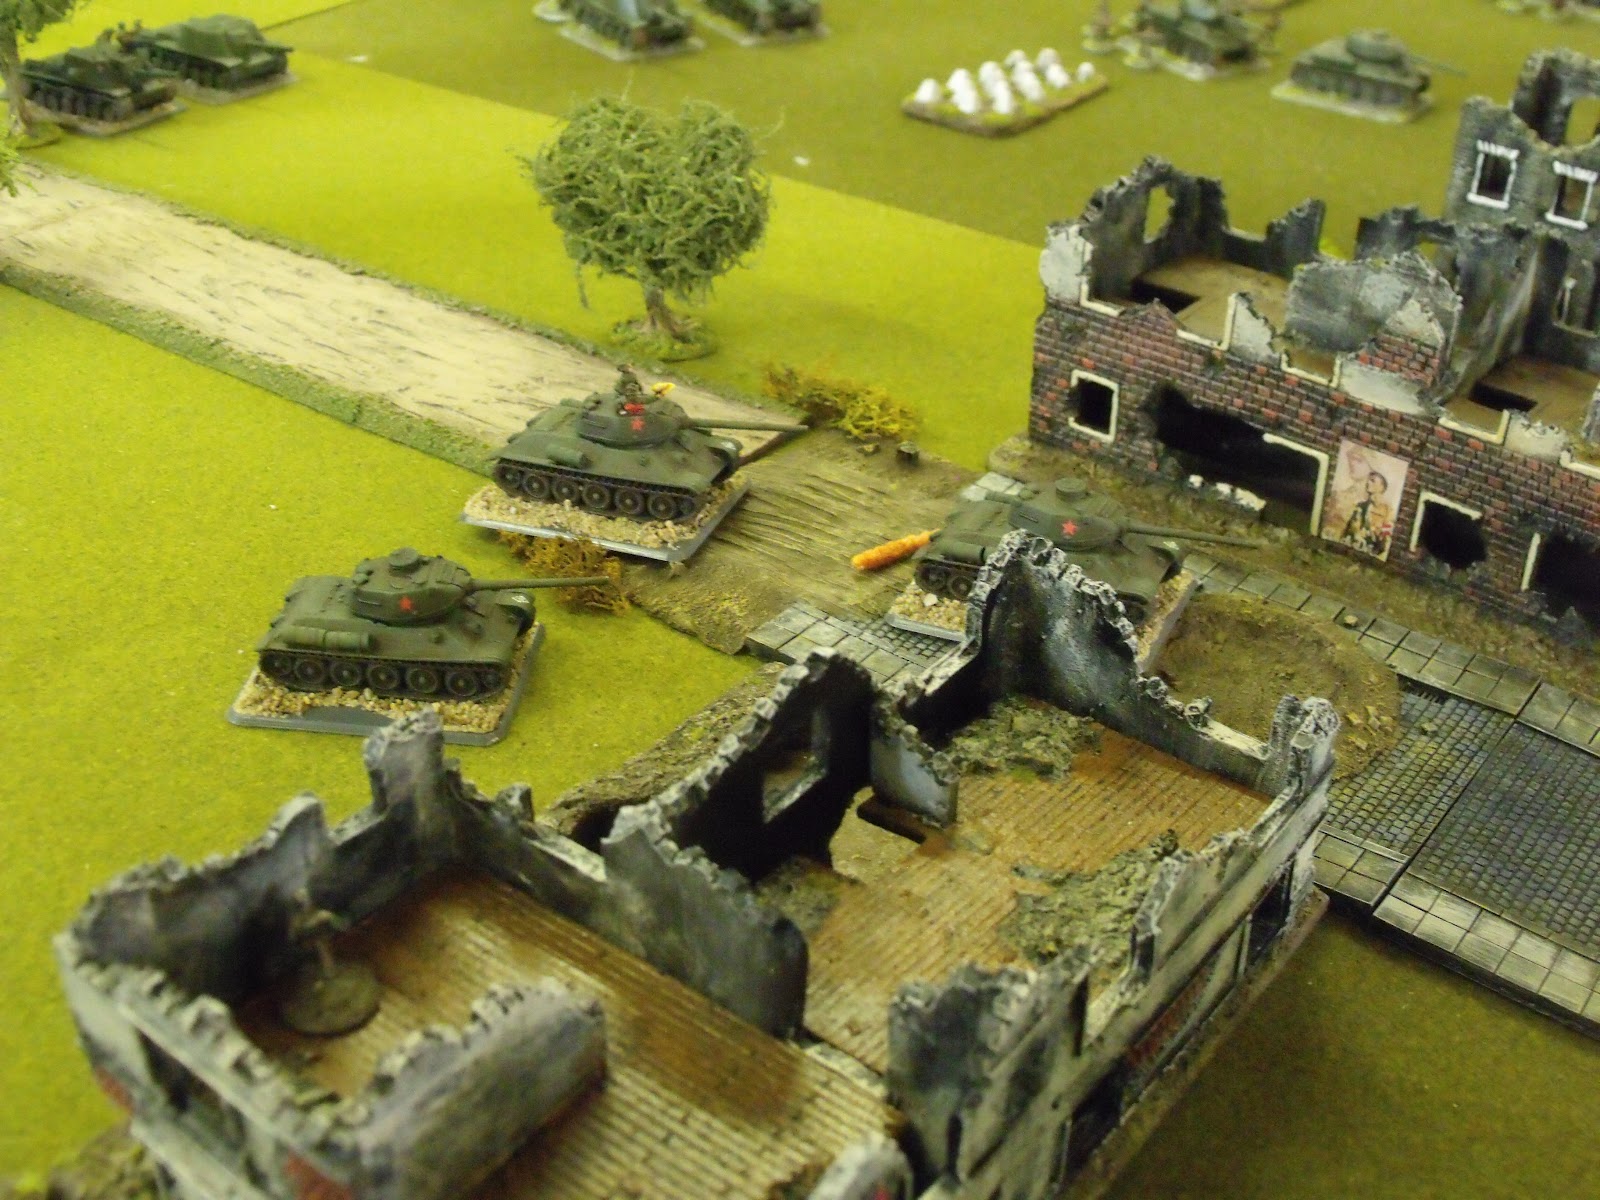 Posties 85's head for the road, big mistake!!  Time to bring out the second line of German defence. Four Panthers fill in the gaps between the buildings.  A cheesed off Fran, after I threw two 6's to save the first hits he inflicted in a while, he he!! Infact I'll have to admit I threw extremely well for the whole game, while the Russians for want of a better word threw crap!  Another tank bites the dusk, this was just too easy. This poor 85 was destroyed by a Panzerschreck shot from the building next to it.  Fran's tank can be seen at the top of this pic, they've just destroyed a Tiger, (which was the only German tank to be destroyed for the whole of the game) and forced the abandonment of a PAK 88.  The German trenches are about to overrun, both 10.5 guns have been abandoned in favour of the rifle.  An ISU joins the two surviving 85's at the road.  The same ISU can be seen smouldering after being destroyed by shot from a hidden Panzerfaust. Also destroyed was another 85 on the road. The Russians morale was beginning to fade quite rapidly by now.  Don't get too close Mother!  Fran's Russains advance onto the second line of buildings, while my Panthers sit and wait.  More Russians stream forward, but its all too late.  Just to add insult to injury, my Panzer IV's cross the bridge.  Just one for Fran, The only destroyed German tank, this one wasn't hulled down either!!! And the Russians then called an end to the game, we all realised they would never reach their objective. In hindsight Ian agreed he may have given the Germans too much fire power and the objective was too far away for them ever to achieve. But I don't care, I won!!!!!!! The Russians destroyed 1 Tiger, 1 PAK 88 and two 10.5 artillery pieces and loads of men. The Germans destroyed an untold amount of Russian armour, around 12 tanks, sorry I forgot how many, it was just too easy, he he!!  Postie rather harshly punishes Ian, for making it hard for him to win! |


