Showing posts with label Distanza Campaign. Show all posts

Thursday, 28 May 2020

Guest Post from reject Richard - The Battle of Distanza Part 7 The Final


Part 7 and Finale of a Socially Distant Wargame
The Battle of Distanza, 15 June 1746
Final Phase, 1.55pm
As Big Lee and Ray send their orders and commit to a big push for victory, neither are aware that this will turn out to be the last and deciding phase of the Battle of Distanza.  Both armies are approaching points of exhaustion.  Some of the brigades and certain of the regiments have been heavily engaged since the first shots were fired.  Who will come out on top? 
At the end of the last instalment the situation was as follows at about 1.55pm:


IR1 Kaiser commences by unleashing a hail of musketry which causes a tremor in the Artois regiment who just about hold firm.


Artois and Languedoc regiments respond but their aim is erratic due to the fog of black powder smoke that drifts across the valley.


Around Sociale in the west, the French 3rd Brigade entertains with a military dance, starting with Aunic regiment dashing out of danger.  Meanwhile the, by now thoroughly exhausted, grenadiers are once again sent to attack the Central Heights.  For the Austrians, the dragoons have not been able to respond with sufficient urgency.


Delays in the execution of orders seems to be infectious as the Champagne regiment obey orders to counter the threat of the dragoons by making an about turn away from the approaching IR10 Jung-Wolfenbuttel.


… who rather inevitably charge the very inviting rear (no Carry On Film jokes please!).


Whilst back by Sociale the Royal regiment sensibly decide to form square to deter the Austrian dragoons.


Unfortunately, the Champagne regiment have now paid the gruesome price for their tardy adherence to orders.


Between the Central and Eastern Heights IR1 Kaiser, emboldened by IR10’s success and its own musketry, launches itself at both Artois and Languedoc regiments.
Despite a determined resistance from the very battle weary Artois and Languedoc infantrymen, they both break.  Luckily towards their Commander in chief… will he be able to rally them?


The situation at 2.10pm.  It is clear that coordinated operations are going to be increasingly difficult now the brigades and lines have fractured.


In the east it has been relatively quiet from the heavy cavalry of both sides.  For now, the pursuit by the French of the sole Austrian cuirassier unit is on.  Little do the French know that Austrian orders are to entice the French after them and away from having any part in the continuing struggle.


Back in the west, accurate artillery bombardment from Ray’s 3rd brigade shakes the confidence of the Austrian 6th dragoon who races back over the river to lick its wounds.


Unfortunately, the Royal regiment in square are unable to emulate their fellow gunners, and the grenadiers continue to stumble menacingly forward.


At the Eastern Heights, Clare regiment in the farm and IR1 Kaiser exchange fire, but all rather ineffectually.  I suspect musket barrels are beginning to foul with repeated use.


Whilst on the Central Heights the Austrian 1st Brigade manoeuvres to neutralise the emerging threat from the French grenadier unit.


The situation at 2.25pm. 


It is at this point that both armies are obliged to take army morale checks.  The Austrian morale holds.  However, French army morale collapses.  Having been asked, the Austrian commander, Lee, in accordance with the principles of wars in the Age of Reason agrees to allow Ray to retire in good order and with full honours of battle flying.


Analysis:
This has been an extremely hard fought battle.  For me there is nothing like chewing over the statistics.
With 8 out of 14 French regiments either destroyed or reduced to half strength or less, it is no surprise that morale crumbled.
The Austrian, in comparison, have 3 out of 12 regiments destroyed or reduced to half strength or less.
There have been 13 melees during the battle.  The French won 6 of them, the Austrians won 7.  Four of the melees were originally drawn, with 3 won by the Austrians and 1 by the French.

Army list and losses are as follows:


The losses go some way to show the hard fought nature of the battle, especially for the French who found themselves having to attack an opponent who had managed to early on capture the tactically important heights.
The main clash throughout the conflict was in the centre across the Central and Eastern Heights.  In this the Austrians were able to reach and deploy first.  The holding of these positions seemed to be central to Lee’s battle plan from the first and he did not deviate from it throughout. 
By and large the Austrians had a plan of forestalling any French cavalry attempt to turn his eastern flank, whilst at the same time diverting the attention of the French 3rd Brigade in the west with his own dragoons.
In both these Lee seemed to gain some measure of success.  Whilst Ray had numerical superiority in infantry (in both number of units and overall men), having to divert a unit into Sociale and one onto the western farm for most of the battle stretched his line and his command radius. 
More importantly, French concentration of power was problematic.  It made it more difficult for Ray to coordinate and sustain an assault on the Central Heights once his grenadiers were thrown back, even though Lee’s Austrian 1st Brigade was reeling under the pressure.  Potentially supporting units from Ray’s 3rd Brigade were either in Sociale or the wrong side of the river.
However, when Ray and the French were able to coordinate and support an attack it worked.  As seen on his capture of the Eastern Heights.  Unfortunately, as the lines fragmented command and control, and therefore coordination, became increasingly difficult for the French.  Lee also suffered but holding a central and defensive position made it relatively easier to patch the gaps.
Both generals played a superb game.  They had to take decisions and produce orders with the fog of war denying them a knowledge of the exact number of losses to units (friend and foe), the state of morale of the units nor the usual physical cues given by an opponent facing you on the other side of a table. 
Each phase was a series of game turns.  Completely different to the act and react of a normal tabletop encounter.  In these senses it placed Lee and Ray far more in the position of real generals who have to rely on the equivalent of couriers and adjutants relaying information after periods of time and events.  Hats off to them. 
As the umpire and mover of metal men, I had a great wargame without the stress of having to make decisions or worry about making stupid blunders – for which the Rejects are known to mercilessly mock very loudly!
Those are my thoughts.  I’m sure Lee and Ray probably have their own opinions and versions of the how the battle went.
Thank you Ray for allowing me to guest blog.  All this is too time consuming for me to ever consider doing my own blog.  Now I will get back to some painting!
Adieu
Richard


" A big thanks you has got to go to Richard for running this great campaign, its been a titanic tussle all the way through, I'm sure Lee enjoyed the game even more so, being that he won!
thanks Rich"

Ray

Saturday, 9 May 2020

Guest post from Reject Richard - The Battle of Distanza Part 6


Part 6 of a Socially Distant Wargame
The Battle of Distanza, 15 June 1746
Phase 5, c.1.20pm

As the two formidable commanders (Ray and Lee!) come into close combat the fickle Gods of War increasingly roll their dice with glee as chance mingles in an unsavoury fashion with tactical ability and careful planning.

At the end of the last instalment the situation was as follows at about 1.20pm:


The French 3rd brigade decide to renew their assault on the Central Heights and decisively wipe out troublesome gunners.


Meanwhile, around Sociale the French awake from their slumber…


…as the Austrian dragoons move to threaten the French rear in the west.


On the Eastern Heights, the Austrian 2nd brigade redress their ranks, only to deliver desultory volley fire on the approaching French.


However, after an explosive volley from Artois Regiment, IR8 Hildburghausen is sent reeling from the Central Heights and beyond Distanza.


Whilst close by on the Eastern Heights, both IR1 Kaiser and IR35 Waldeck refuse to charge from the protection of the high ground.  Thus, allowing Languedoc and Navarre regiments to seize the initiative and charge up the slope towards the farm and against IR35 Waldeck.


The weight of numbers is too much and IR35 Waldeck is thrown back in disarray.


The situation at 1.40 with the Austrian position on both heights looking vulnerable


The situation across the whole field of battle as command and control gradually breaks down on both sides.  Sorry about the blurred picture.


The French 1st brigade seeks to take advantage to punch a hole towards Distanza, but their musketry proves to be ragged at best.  Too many muskets becoming fouled with gunpowder and paper perhaps.


Further to the west, the French 3rd brigade assault the Central Heights with the Grenadiers and Aunis regiment whilst continuing to harass the increasingly dangerous Austrian dragoons just to the south.


But perhaps relief in the centre is on the way for the Austrians as IR27 Baden Durlach returns to the fray.


French pressure mounts as the French 2nd brigade make their bid to capture the Eastern heights.  However, IR36 Browne and the remaining gunners show immense discipline and fire control to…


…destroy the effectiveness of Montfort Regt and send Navarre Regt spinning back in disorder.


Further west, the Austrian dragoons now seem to be preparing to make an impact.  Perhaps about time too, some of you may say.  It has taken them over two hours to get there.


Back on the Eastern Heights.  Despite destroying the Montfort Regt, IR36 Browne now finds that the Clare Regt (those Irish wild geese get everywhere) has charged their flank.


Meanwhile IR10 Jung Wolfenbuttel on the Central Heights has the French grenadiers on their flanks despite first releasing a well ordered volley to despatch the frontal threat from Aunis Regt.


But on the eastern flank of the battle, it seems that IR36 Browne can shoot but it cannot melee as Clare regiment beats them roundly and sends them scampering through the woods.


After a remarkably close and bitter struggle for dominance on the Central Heights, the French grenadiers already exhausted from their previous actions are unable to force the issue with IR10 Jung Wolfenbuttel, who send them back into Sociale to drown their sorrows. 


But French fortunes fare better on the Eastern Heights, where the Clare Regt exploits their success to clear the heights of the enemy by charging and slaughtering the last Austrian gunners.


And so, the state of the battle at 1.55pm is as follows.


The French have spilt considerable blood to successfully capture the Eastern Heights.  Meanwhile the Austrians have shown remarkable tenacity to continue their (albeit shaky) dominance of the Central Heights.  The Austrian dragoons now seem set to affect the course of events.  Whilst the heavy cavalry conflict in the east has petered out… for the moment.
Both armies have started reaching levels of exhaustion.  But the morale of both is so far standing up to the test.  Hurried reports from speeding couriers and adjutants are flowing into the commanders with news about the combat effectiveness of their forces.  Will this have an impact on the next orders?
Until the next instalment.


Tuesday, 5 May 2020

Guest Post from Reject Richard - The Battle of Distanza Part 5


Part 5 of a Socially Distant Wargame
The Battle of Distanza, 15 June 1746
Phase 4, c.12:45pm
A little apology to begin. My cellar is never great for photos, but for some reason this phase of the game engendered even poorer quality pictures.  Even leading a dramatic cavalry clash being rendered to a written account only.
At the end of the last installment the situation was as follows at about 12.45pm:


The French Artois regiment starts by blazing away at the Austrian artillery of 1st Brigade…


… killing the gunners to a man.


Aggressive French advances by 1st and 2nd Brigades and fire by Champagne regiment does damage on IR8 Hildburghausen on the central heights.


While on the far western flank, the Austrian dragoons continue to make progress around the French left flank and Sociale prompting Marshal Ray to shift his command to get this end moving.


But on the central heights IR8 return fire with a withering volley that sends Champagne regiment reeling back.  Shaken but not destroyed.


Unfortunately, the rest of the Austrian 1st brigade’s performance is barely satisfactory… typical Lee-esque dice rolling!


However, Austrians of the 2nd brigade inflicts heavy casualties on the Picardy regiment, who are forced to temporarily withdraw.


Meanwhile, on the bloodied soil of the south eastern flank, Ray’s battered cavalry are setting a trap for Lee.  Will the Austrian orders drive them into the net?


On the French right flank of the line, Piedmont regiment is charged by the Austrian grenadiers who advance determinedly despite well trained musketry by the French infantry.


French grenadiers also seek action by launching themselves at IR27 Baden-Durlach, who are taken by surprise at the speed of the charge.


The Austrian grenadiers win, throwing the Piedmont regiment back.  However, they have now suffered horrible losses themselves.


On the central heights, the French grenadiers keep honours even by defeating IR27 who retreat over the river.  The heights now seem to be disputed.


The grenadiers now exploit the situation and charge IR10 Jung-Wolfenbuttel, who just have time to release a volley before impact…


… and after a close and vicious melee push the grenadiers back towards Sociale – have the grenadiers exhausted themselves?


This is the situation at around 1pm.


The Austrian grenadiers are quickly wiped out as the French 2nd brigade extract revenge.


But in the west the Austrian dragoons start to cross the river south of Sociale.  However, Ray is redeploying his 3rd brigade to counter.


This is the point where my already dodgy photography seems to give up the ghost.
Which is a shame as in the southeast Lee’s cuirassier dutifully follow his aggressive orders and charge straight into Ray’s cavalry trap.  No 4 Stampbach cuirassiers is consequently wiped out to a man (and steed) when it is charged by both French units – one in a devastating flank attack.  The secret to decisive melee in this age.  La Reine chevaulegers breakthrough onto No 3 Palffy cuirassiers, who put up stern resistance before their morale cracks, forcing their ragged withdrawal.

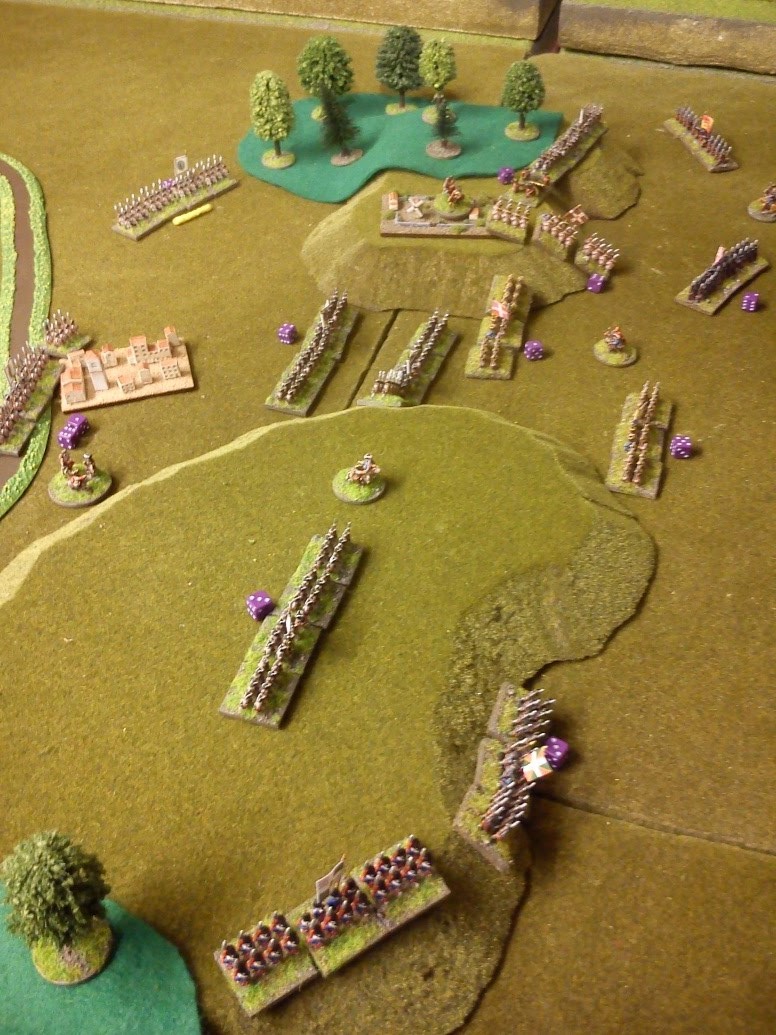
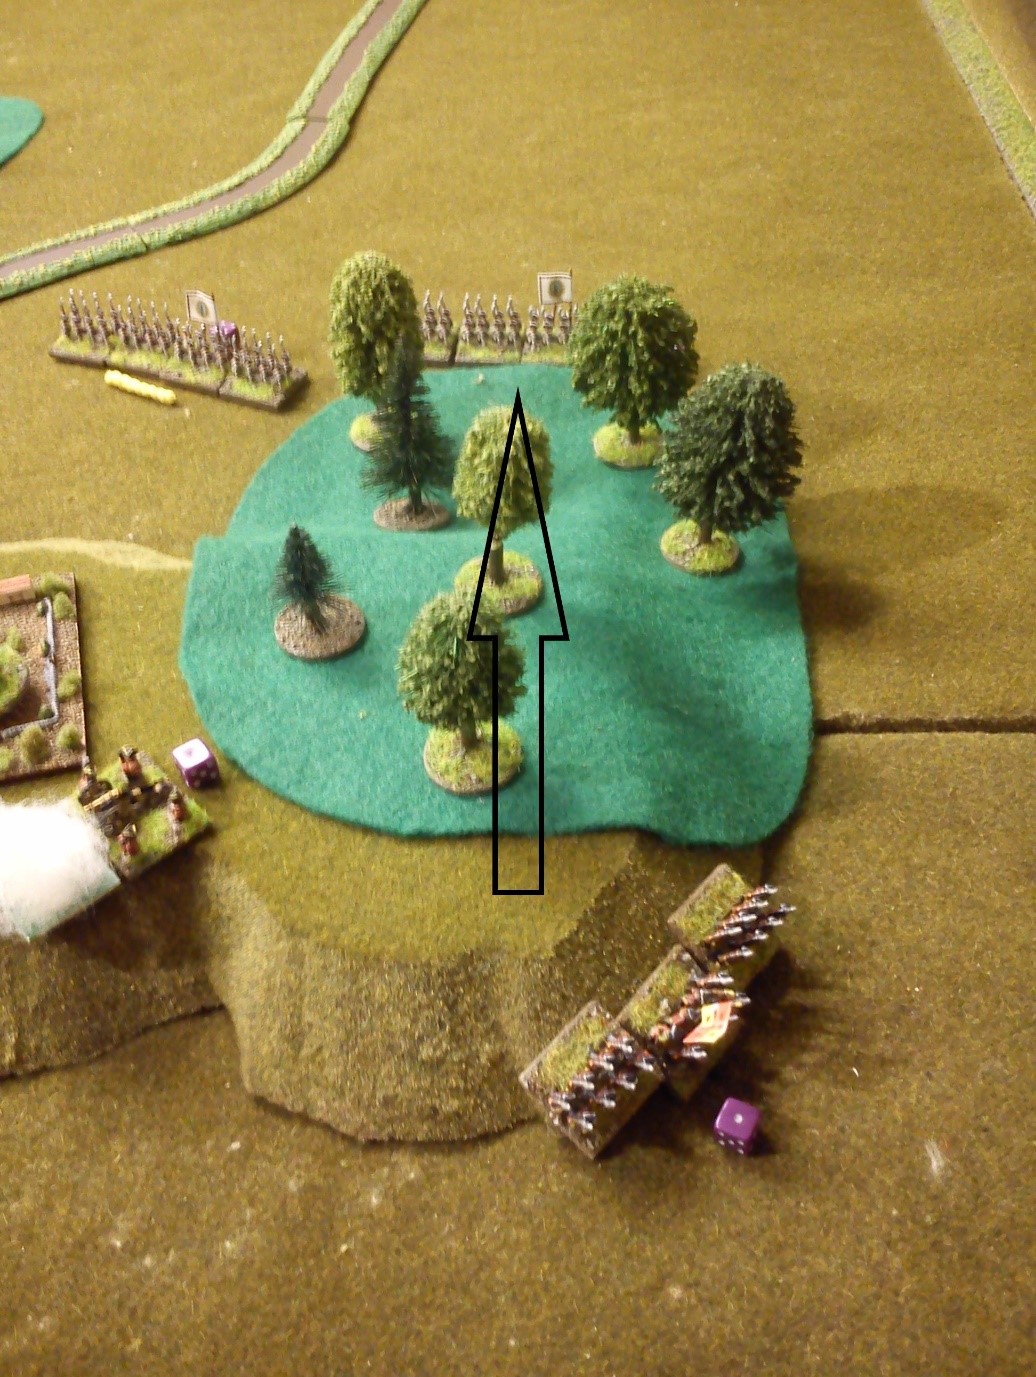
Below is the now untidier battle lines from west of the central heights looking east.


General Lee is seen exhorting his troops to great effort despite losing two units destroyed in a quarter of an hour.


And so, we have the situation as the clock ticks towards 1.20pm.


Both armies are taking a battering.  The French are bloodied and having to react to some troublesome Austrian cavalry but have all units still available for action.  The Austrians are holding the heights but only with a titanic struggle and now with two units destroyed.  Which side will see their will to fight crack first and gain the ascendancy they seek in northern Italy.
Until the next instalment.