Wednesday, 1 June 2011

The Battle of Fort Avila, part 2

The Battle of Fort Avila, part 2

Turn 3


For the third time the French won the initiative and moved up to the fort with the 4th Legere, leading the way. French re-enforcements turned up, the Cavalry 1st Brigade containing the 23rd and 25th Dragoons, Ian then moved these toward the closest bridge. The British 1st Brigade advanced and started to cross the bridge, an angry group of Spanish villagers joined the British to try and take revenge on the dirty French. From the fort the French once again took heavy casualties, the 70th line lose 4 casualties causing a morale check which they luckily passed. The 2nd Heavy gun in the fort changed targets this turn and fired at the 1st Hussars causing 1 casualty. Lastly the 4th Legere lost 2 figures from infantry fire from the fort.

The Battlefield turn 3

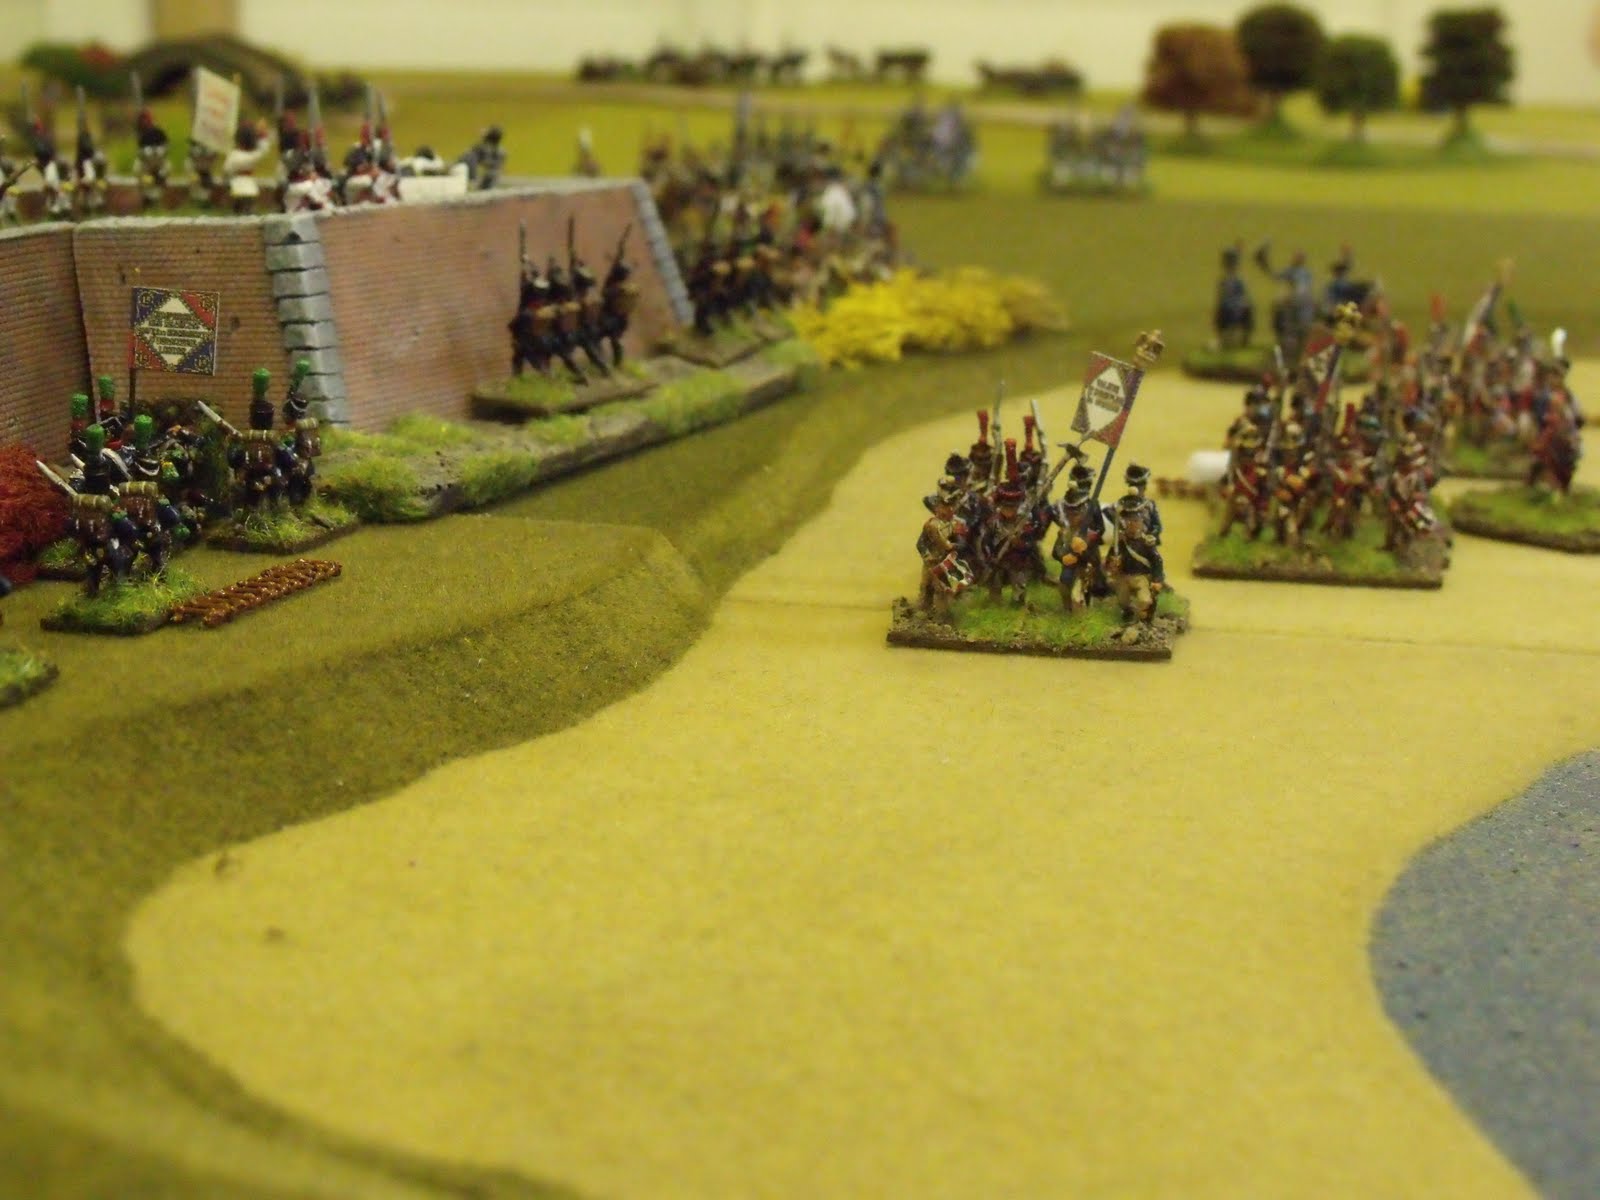
The 4th Legere move up to the wall while the rest of the French line follow up behind. The 70th on the far right received fire and lost 4 figures.

The 23rd and 25th Dragoons move onto the table, to threaten the British on the bridge.

The British 2nd Marines lead the way over the bridge.

A close up of the 4th Legere as they advance to the walls, while the Spanish look on.

The British 36th Line from the 2nd Brigade.
Turn 4

The Anglo/Spanish alliance won the initiative for the first time in the game. This was a disaster for the French as it meant they would not get to the bridge by the village first with their cavalry. The 1st and 2nd Marines took advantage of this and advanced over the bridge. The French Cavalry decided to set themselves up to charge next turn. As the 1st Hussars advanced toward the other bridge they saw some movement in the small wood to their left, a unit of Spanish guerrillas moved to the edge of the wood. After taking a battering the last two turns the main French army moved down toward the beach to an undefended wall of the fort, as they advanced they saw the undefended wall was actually defended, Merd!! By a unit of Aragon light infantry. Meanwhile at the front of the fort the 1/14th took 6 casualties, then they wavered and failed their morale and moved back 8 inches. In a very desultory fire phase (actually bloody useless), the French miss all but one Spanish unit, but they do take two figures from the No1 Spanish gun in the fortress. Reducing their firing strength for the rest of the game.


The 1st and 2nd Marines make ready to be charged.

The 10th Chasseurs a Chavel, 23rd and 25th Dragoons get into
position for next turns charge phase.

Another view of the French Cavalry setting up for a charge.

The Spanish No1 gun received musketry fire taking 2 casualties, he he!!
The only good piece of fire by the French this turn.
The French advance onto the beach to the empty walls, but find it covered by
the 1st Aragon Light Infantry

The 5/60th Rifles are the first to cross the bridge, heading for the fort.

The left bastion, manned by the No 2 gun and the Tuy Militia
 Turn 5

The French cavalry declare two charges against both British Marine units. The 25th Dragoons charge the elite 1st Marines who fail their morale and flee back over the bridge in disorder. The 10th Chasseurs a Cheval charge the 2nd Marines, who manage to form square as the French move in, not good for the Chasseurs! Even worse is the fact that they then lose two figures going in, they then failed their morale to close in.
To all of our surprise, especially Richard’s the French get some more re-enforcements, and what re-enforcements they were, 4 battalions of elite combined Grenadiers and a heavy gun, they come on, in the middle edge of our side of the table and move immediately forward to try and cut off the advance of the British 2nd Brigade, on the far side of the table. Then in the Allied movement turn there’s another surprise, this time against the French, the 5th Spanish Borbon Horse and the 5th Villavicosa Dragoons appear behind the fort and immediately move right to make their way around to the beach to threaten the French at the side of the fort. Another unit of Spanish guerrillas appear in the woods behind the 23rd Dragoons, who lose 1 figure.
Another absolutely useless round of firing by the French (me!!!), was made worse when the Spanish threw very well again (Damn you Elders!!) and there Heavy gun No1 killed 2 more figures from the 1/14th, while No2 inflicted 4 hits on the 3/2nd Vistula Legion. In the French fire phase the 2/14th and 3/14th Line both fire and destroy the Spanish No1 heavy gun.


The 25th in the centre alting at the point where the 1st Marines fled. Note the
Spanish Guerillas at the top right who fire on the flank of the 23rd Dragoons.

The French re-inforcements arrive, 4 units of Combined Grenadiers

The Spanish re-inforcements also turn up, although Richard the Spanish commander
decided when they appeared on the table top, This threw an almighty spanner into my French plans!!

The French move up to the side of the wall, all French fire misses its target!!

The 1st, 2nd & 3rd Battalions of the 2nd Vistula Legion, start to move
toward the fort. They had been holding back to support the attack, but were
moved up to join the attack
A view of the French advance along beach, the leading coloum is the 70th followed by the
Paris Municipal Guard and the 4th Swiss

Another closer view of the attack along the beach, the red coats of t
he 4th Swiss are now more clearly visable.

And so ends part two, part 3 to follow shortly.

Thanks
Ray

Monday, 30 May 2011

The Battle of Fort Avila. Part 1

Fort Avila


The Battle of Fort Avila. 10th November 1808


Posties Rejects had a Napoleonic game last Saturday, I must admit, It was one of the best games I’ve ever played in and was a very close run thing, unfortunately we had to stop the game before the game had truly run its course, but we were all satisfied with the final result at the end. We started the game at 10am and finished at 430ishpm as I had to go to work!!

The sides

British - Surj, Spanish – Richard v Ray and Ian – French. The two French leaders were able to talk freely as their command bases were together, but the Allies were not allowed to talk and were only allowed to communicate by messengers.

Postie had set the game up and deployed all the troops, so there was no need for us to deploy, this saved a lot of time as all gamers will know. Postie gave both sides an order sheet, but also explained that things may happen during the game! Well what the hell’s that supposed to mean??? These “things”, caused mayhem and headaches for both sides throughout the game!!

The Battlefield

The French Orders


You have been sent to capture Fort Avila and to control the surrounding area including the coastline. News arrives that a British fleet has been sighted of the northern coast. The French also have 10 ladders they can share out amongst the troops, to attack the fort.

The Spanish Orders


The French have arrived, hold out as long as you can, do not let the French capture the Fort at all costs. A peasant arrives with news that a British fleet is anchoring off the northern coast with British reinforcements onboard. The French must suffer for every inch of land they take as they advance toward you.

The British Orders


Spies have intercepted French messages stating that an attack will be made on the vital coastal Fortress of Avila. You are in command of a small army sent to help the Spanish and secure the safety of the fort and surrounding area from the forces of Bonaparte.

The French

1st Division

1st Brigade - 1st,2nd and 3rd Battalions of 14th Line and 15th Legere,
2nd Brigade - 70th Line, Paris Municipal Guard 4th Swiss (elite) and 4th Legere (elite)

2nd Division
1st Brigade - 1st, 2nd and 3rd Battalions of 2nd Vistula Legion, 27th Legere (elite)
2nd Brigade - 4 units of Combined Grenadiers (elite) (Not on the table at the start)

2 x Siege Artillery
1 x Med Artillery
1 company of Pioneers

Cavalry Division
1st Brigade – 23rd and 25th Dragoons (Not on the table at the start)
2nd Brigade - 1st Hussars and 10th Chasseurs a Cheval


The Spanish

1st Division
Garrison in fortress - 2 Militia Battalions, Avila and Tuy
Garrison in fortress - Betanzos Militia and 1st Aragon Light Infantry (Not on the table at the start)

Cavalry 2nd Brigade - 5th Borbon Horse and 5th Villavicosa Dragoons (Not on the table at the start)

2 x Heavy Artillery
1 x Light Artillery (Not on the table at the start)


The British


1st Division
1st Brigade - 1st and 2nd Battalion of Royal Marines and 1 Battalion of Sailors (all elite)
2nd Brigade – 38th, 5th, 36th Line, 5/ 60th Rifles (elite)

1x light Artillery


The British army loading onto their boats
 Before the start of the game the British had to throw an average dice, Surj threw a 5, giving him 5 free turns to try and land his boats, each boats threw 2 average dice per move, then 1 D6, if a 1 was thrown the boat could sink, losing the landing crew or spring a leak and start to slow. Surj threw very well and everything made it to the shore apart from 1 man from the Light gun and the limber. So no real damage was done, except that Surj didn’t realise until later that most of his light artillery’s ammo was sunk along with the limber. He he!!!


Postie picked this ship up at a show a few years ago for just £30, a bargin if I've ever seen one!

Nearly there


Another unexpected action in the game then followed. The French could also throw an Average dice to see how many free fires it could take against the walls of the fort, before the game started, I threw a 3 and caused 9 hits, unfortunately we did not know the number it would take to cause a breach.


Turn 1
The French won the initiative and moved first. All the French Infantry advance toward the fortress, while the Cavalry marched off in column to try and block the bridges, to stop the British advance. The Brits moved toward both the bridges. The fortress took 1 more hit onto the Breach making 10 hits all together. The first casualty of the day was from the 10th Chasseur a Cheval, who were fired upon by Heavy gun No2 from the fort.
The French Infantry start their march to take the fort.

The French 1st Hussars and 10th Chasseurs a Chaval

The Elite British Marines and Sailors nearing the village of Nemo

The 5/60th advancing through the woods
 Turn 2

The French won the first move again and kept up the mass advance, with the Cavalry still heading for the bridges. The British 1st Brigade moved passed the small village of Nemo, just in from the coast towards the bridge. 2 more hits were inflicted on the walls of the fort, now making 12. The Spanish heavy guns inflicted heavy casualties on the French 14th Line killing 4 figures and taking out the Brigade leader as well. Even after the devastation the 14th managed to pass their morale check. The other Spanish gun took 2 figures off of the 70th Line.


A view of the Battlefield at the start of turn 2


The French advance

Here come the French

The British 1st Division, 1st Brigade 1st & 2nd Marines and Sailors

The French 10th Chasseurs a Chaval.

During the game we took far too many photos to include in one post, so I've split the battle report into three parts. Part 2 will follow in a couple of days.
Thanks for reading the post
Ray

Thursday, 26 May 2011

FIW French Marines 15mm Comparison photos

Essex, Matchlock and Blue Moon
As some of you will know, I'm in the middle of painting up both sides for the French Indian Wars. My collection is mainly made up of Essex figures, FreiKorps, MiniFigs and the recently re-released Matchlock. Then all of a sudden there's a brand new range from Blue Moon, after reading some of the reviews I was quite saddened to here that they were not that compatible with other ranges, being closer to 18mm. After admiring them for a couple of months, with a few Essex figures in my pocket i bought my first pack from Old Glory at Salute, I was going to buy the Indian villagers pack to go with my newly constructed longhouses, but for some stupid reason I forgot to go to the stand, by the time i got there they'd sold out!
Anyway I bought one pack of their Compagneis Franches de la Marine, the figures were the subject in my last post. I must say that I was very pleased with them, mostly because in my opinion they fit in well with my other figures, which is kind of bad news really, as now I might just have to buy some more!!! I've included a few comparison photos, to give you their scale against other makes.Marine


Essex, Blue Moon, Matchlock and MiniFigs

Essex, Blue Moon, Matchlock, Blue Moon and MiniFigs


I've included the next two photos to show you the leader of my French Marines, the figure is from Matchlock, I believe he is supposed to be a rendition of Captain Daniel-Hyacinthe-Marie Lienard de Beaujeu, better known just as Capt Beaujeu, who was the commander of the French forces at the Battle of Monongahela. He is a great figure, and is just what the Blue Moon pack is missing, an officer in undress.


 My last photo are the first of my French dead, as I'm going to use a skirmish based set of rules, I thought I better get some casualties, these figures are from another manufacturer, Irregular Miniatures. The figures are from their Marlburian range, the French uniform hadn't changed much between the periods, so I think I can get away with it!!!