

The Rejects gathered in the shed for our second game in 3 weeks, not sure what's going on there!!
Postie treated us to an AWI game, the first for many moons!
Lee's report can be viewed here!

Myself and Richard picked out the hat first, Richard picked the CnC of the Amerians, I picked the CnC of the British. My second in command was Surj, Lee picked the Americans 2nd in command.
Postie then took me and Ricahrd in the shed to place our troops.
We had to dice off, the loser had to place a brigade. Richard threw well, all my troops were down and he still had 2 brigades left to place. We also had to throw for how far the brigade set on. I had the better run of luck all the way through up until Richard's last throw of 18 inches. So he was able to place that brigade in front of another and seriously threaten the British lines. That put me on the back foot immediately and was a great move on Richard's part.

Richard's 2 bridgades face off my lone brigade
Order of Battle Ruthlessly stolen from BigLee's blog
This is the OOB that Postie drew up for us. To explain the letters next to the units mean the following; E means Elite; V Veteran; and T Trained. The number after that is how many figures are in a unit so you can see there is a lot of difference in sizes. These were probably the two best AWI armies had ever put out, so we were on for a great fight.
British - c/o Maj-Gen Sir William Howe
1st Brigade Col Meadows
Combined Grenadiers (E) (20)
Combined Light Infantry (E) (20)
2nd Brigade Maj-Gen Grant (1)
23rd Fusilers (V) (16)
42nd Highlanders (V) (16)
55th Line (V) (16)
64th Line (V) (16)
Medium Gun
3rd Brigade Maj-Gen Leslie
7th Fusiliers (V) (16)
27th Line (V) (16)
26th Line (V) (16)
4th Line (V) (16)
Light Gun
4th Brigade Col von Lossberg (Hessians)
Von Woellworth ex von Rall - Grenadier (E) (24)
Von Knyphhausen Fusiliers (T) (24)
Combined Grenadiers (E) (24)
Light Gun
5th Maj-Gen Ernst Von Prueschenk (Hessians)
Jagers - Rifle (E) (16)
American - c/o General George Washington
1st Brigade Col Irving
2nd Pennsylvania Line (T) (16)
5th Pennsylvania Line (T) (16)
7th Pennsylvania Line (T) (12)
10th Pennsylvania Line (T) (12)
Medium Gun
2nd Brigade Gen Poor
1st New Hampshire Line (T) (20)
2nd New Hampshire Line (T) (20)
4th New York Line (T) (16)
Sherburnes Additional (T) (16)
Light Gun
3rd Brigade Gen Patterson
8th Massachusetts Line (T) (20)
12th Massachusetts Line (T) (16)
14th Massachusetts Line (T) (20)
Webbs Additional (T) (24)
Medium Gun
4th Brigade Gen Smallwood
1st Maryland Line (T) (20)
2nd Maryland Line (T) (16)
3rd Maryland Line (T) (20)
Haslets Delaware (V) (16)
Light Gun
5th Brigade Col Daniel Morgan
Riflemen (Rifle) (E) (16)

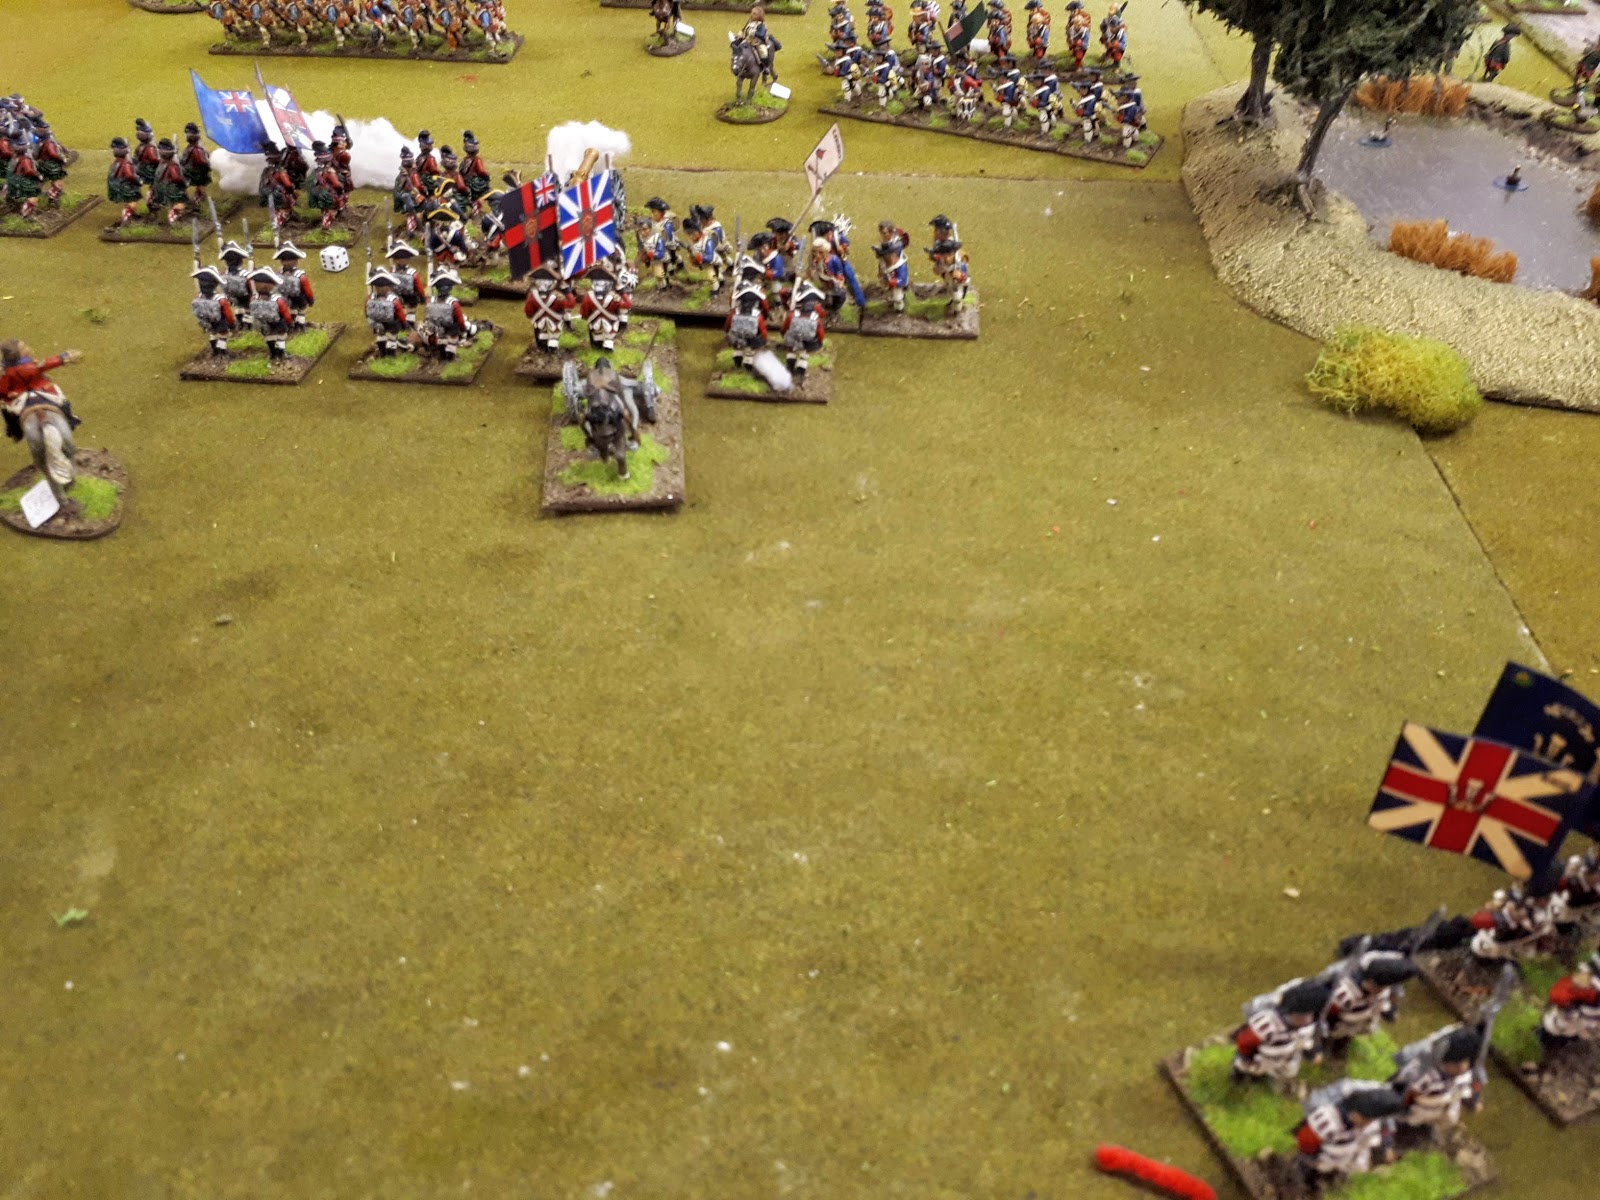
The British centre
I placed our 1st Brigade here, the combined Light Infantry and Grenadiers
To try and secure the woods, on their left was the 4th Brigade containing the German contingent.
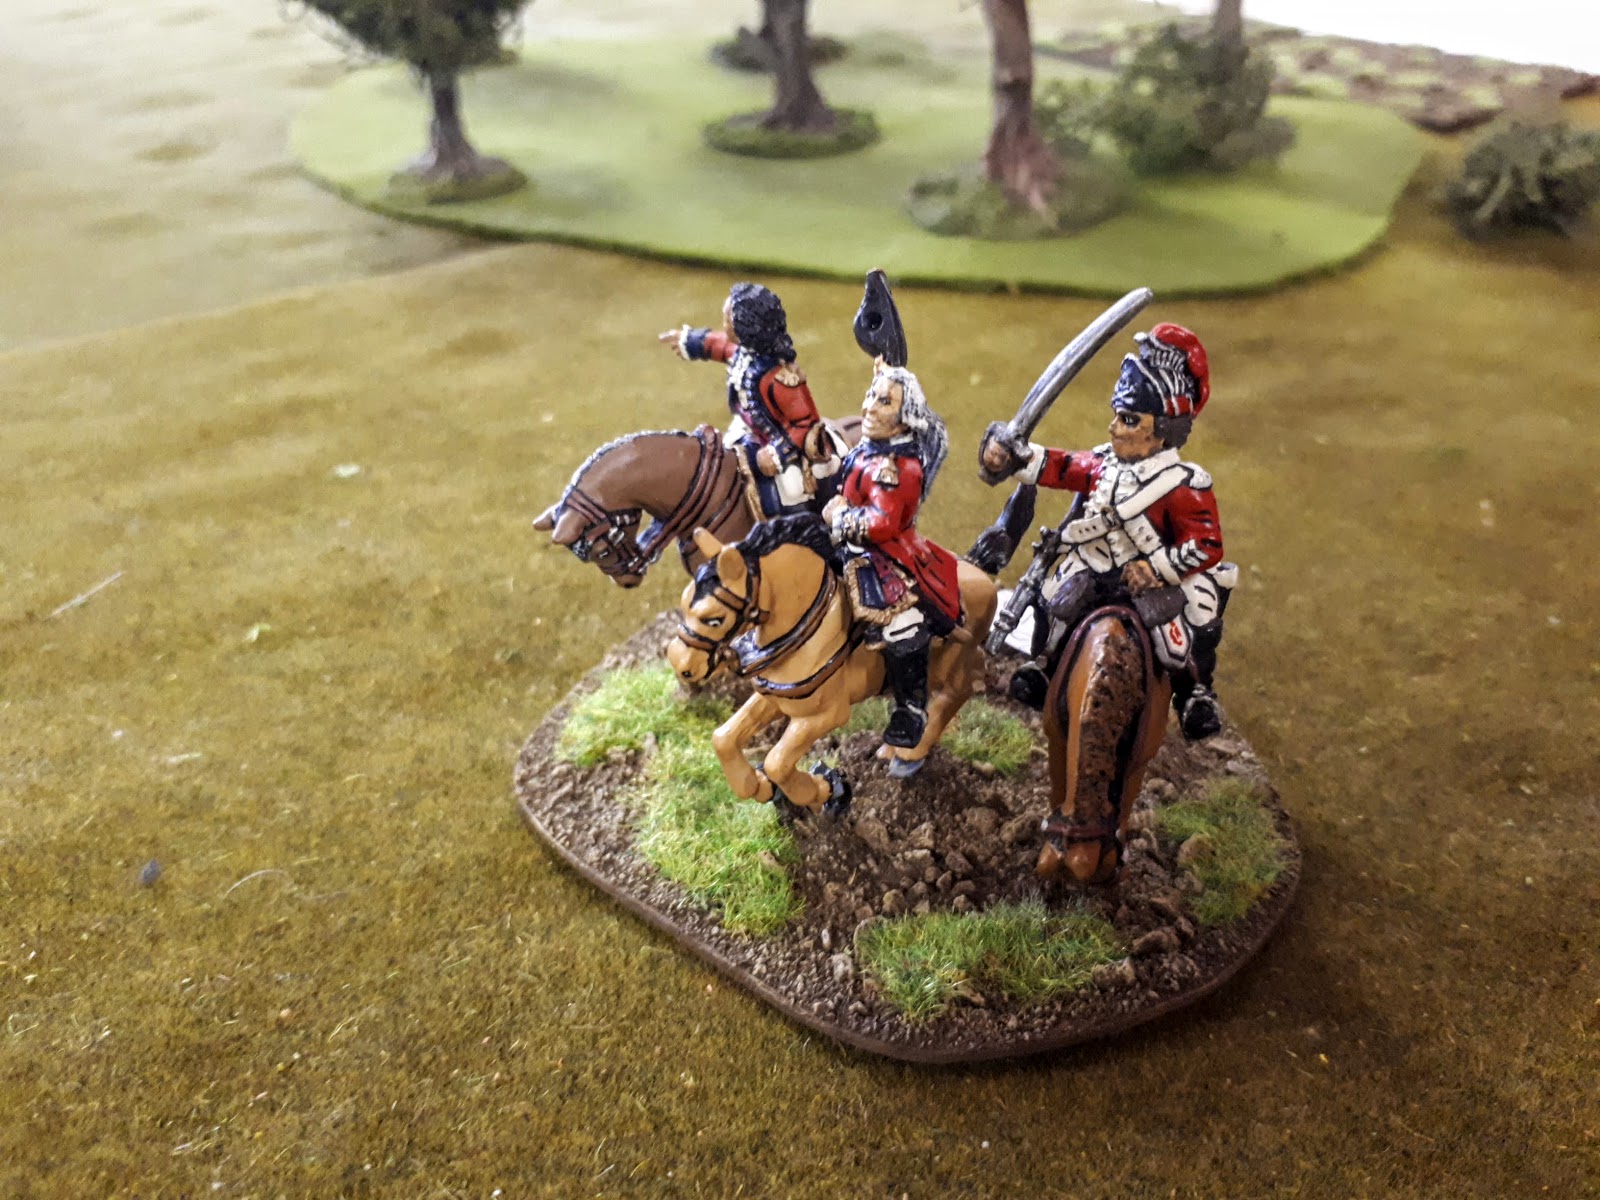
Maj-Gen Sir William Howe

Due to Richard's superior dice rolling he overloaded their left.
I'm in for a tough time, my planned attack was cancelled and I settled down for a defensive game.
I'm in for a tough time, my planned attack was cancelled and I settled down for a defensive game.

I completely ballsed up our setup placing the 3rd Brigade on our extreme left. They had to go in column so as to not go in the woods. I did want to put these in behind the Combined Grenadiers. But had to put them way out on the flank.
Big mistake!!

Lee's command can be seen across the very open fields

First move I unlimbered my artillery and the front line stepped back.

Both sides light troops set up for a fire fight

While Squire and Lady Hadley watch on in horror as the bullets fly past the noses!!

Richard moved his troops up quickly

I abandon my plan of holding the woods, and move to support our right.

Surj moves up to attack Lee, and swings Von Knyphhausen Fusiliers over to the hill.

There's a heck of a lot of troops coming my way!

The American's talked tactics Lee asked "How do you want me to play?" Richard offered Lee some words of encouragement. then said those immortal words which echoed around the room...

"Use your initiative"

Echo "Use your initiative"

Echo "Use your initiative"

Echo "Use your initiative"

With the overload on Richards side we kinda guessed Lee's troops would hold their lines.
So the British Light's and Grenadiers made their move.

I could keep my troops in Open order and close ranks if I decided to charge.

Very tempting?

Surg kept moving forward with the German's but as per normal, ignored my orders and kept moving towards Lee's troops top left of the pic. I wanted him to march behind the German, with a loose plan to take the hill.

Massed casualties for both sides, although the Americans had the worse side of it

My artillery were firing cannister, which blew chunks out of Richard's middle unit.

Flanking fire from the Grenadiers adds to the American casualties.

I take a calculated risk and do not charge in, while the American try to charge.

The centre American line unit is destroyed.

But although they're mauled the two on the flanks make it into hand to hand combat.

The 3rd Maryland v the 23rd Fusileers

1st Maryland v 55th Line

I did try to initiate a charge into the flank of the 1st Maryland with my Grenadiers, but they failed to reach. Which left them with no move this turn. So the Light's had to move to cover their flank. Surj moved Von Knyphhausen Fusiliers off the hill in support.

It was tit for tat over by Hadley Hall, both units were taking limited casualties.

The rest of the American line moved up to support the attack.

Looking good.

Surj's large German units get into musketry range and will hopefully start to cause havoc.

Surj deploys the other British brigade, to face Lee's 2 units the other side of the hill.
These are the troops that Surj was SUPPOSED to bring into the centre!!!

Yes they would have taken a little time to get there, but there was no chance Lee would follow.

2 v 1 How would the Light's perform?

I'm a bit worried about my flank so the 64th move by the flank to the right.

Back to Richard's charges!!
The 1st Maryland get battered and lose the melee.

On the right, It was very close on the dice, and Richard just pipped me!
This wasn't part of the plan
The 23rd are routed, the 3rd Maryland carry on their charge and hit the 64th Line.
But only just lose the next round of combat and are pushed back

Next turn, Richard bring his second line into the melee and charges the 42nd Highlanders

A very wonky front line.

I would normally charge here, but my musketry has been devastating.

Surj's large German units are evil when firing.

Lee's had enough and moves over the hill to confront Surj's troops.

The blue marker means the 64th have captured a colour, from the defeated 3rd Maryland. Who also captured the colours of the 23rd Fusileers in their earlier melee!
Bloody disgraceful!

Richard's lines are getting hammered by my shooting.

as are Lee's lines

Lucky we planned for the German Fusileers to come over the hill.

Onto Richard's melee

Pretty equal dice and I just pipped him again!
The 2nd Pennsylvania are pushed back.....but

The American's call a quick conflab outside and Maj-Gen Howe offers to withdraw from the field
if he's allowed to leave with flags held high. I duly agreed and that was the game.

For his valiant endeavours in his attack, Richard was awarded the
Top Dog award!
Very well deserved Richard!!
Analysis
Us Brits were supposed to be the aggressor in this game, but the setup really nullified any idea I had of attack. Richard did the right thing and managed to double up (in depth) two brigades. My mistake was not putting the 3rd Brigade where I wanted to, in the centre. I was too worried about Surj's flank being overwhelmed, my Richard's last two brigades, that had yet to be placed.
SO I think it actually was Richard's great attacking set up that helped us win the game? Perhaps if he'd not doubled up and left the attacking to the Brits we may have come to a different result? But who knows? Perhaps that'll be our next AWI game?
Lovely looking game Ray.
ReplyDeleteCheers Norm, glad you like it.
DeleteI always enjoy your spin on the battle, Ray! You never disappoint. Super looking game and good action. I am now off to read Lee’s account. Say, has Lee lost weight?
ReplyDeleteThanks Jonathan! Lee has been trying to shift a few pounds and not from his wallet either!
DeleteReading this in what passes for a lunch break at my desk and I burst out laughing at that series of pictures. Your an evil funny geezer Mr Rousell. I shall have my revenge... ;¬)
ReplyDeleteJust showed this to the Young Padawan and she laughed so hard I thought she was going to pass out. Sigh...
DeleteThe "evil" is from all those years living next door to Evil Postie ;)
DeleteI'm glad you liked the little quip Lee, I was chuckling to myself as I wrote it!
DeleteGreat game, great write up and great blog moment of the year - "use your initiative" classic!
ReplyDeleteRichard
T'was a great game and as for Lee...................
DeleteSuper pics and AAR as always
ReplyDeleteThanks Sgt!
DeleteAnother lovely game and amusing commentary to go with it!
ReplyDeleteChristopher
Glad you liked it Chris.
DeleteAbsolutely splendid Ray, another great game and report.
ReplyDeleteMy pleasure Sir M!
DeleteSuperb, spectacular pics!
ReplyDeleteCheers Phil.
Delete/looking awesome sir!
ReplyDeleteGlad you approve Michal.
DeleteGreat looking game Ray! :)
ReplyDeleteCheers M'Lady!
DeleteThe game reports are coming thick and fast now Ray! Beauty of a game this one and excellent write up in your usual style :)
ReplyDeleteGawd knows when the next game or report will be Lee.
Delete"Use your initiative"....lol and typical Surj!
ReplyDeletePoor Lee and poor Surj!
DeleteBrilliant battle report
ReplyDeleteCheers Neil.
DeleteExciting game with a lovely collection of troops and terrain.
ReplyDeleteThanks Dean. Glad you enjoyed the game.
DeleteLovely looking game, great commentary,I feel sorry for Lee if he's your mate!
ReplyDeleteBest Iain
He loves all the attention, Iain!
DeleteSuperb stuff.
ReplyDeleteIf it's any consolation for Lee, whenever someone tells me to use my initiative, it's like they're telling me to 'go with the flow' or 'stop overthinking it'...I then simply CHARGE!
If only, if only!!!!
DeleteWhat a great game and write-up. The rebels didn't seem to take full advantage of their inital set-up advantag, but the result still seemed to be in the balance right up to the end.
ReplyDeleteRichard did try, the set up was brutal for us both. I took no advantage from t at all, unlike the Americans.
DeleteGreat report and a very fun read with great pics. Well done. I like the way y’all organized the set up process to introduce some fog of war. 😀
ReplyDeletePostie does like to throw in the odd spanner or two now and again. and it certainly made for an interesting game!
DeleteA fine looking game there! Nice to see so many Front Rank figures in the action.
ReplyDeleteGlad you approve David!
Deletewonderful looking game. Posties shed is a miraculous place
ReplyDeleteCertainly is Miles.
DeleteThis comment has been removed by a blog administrator.
ReplyDelete