
The Battle of Fort Avila, part 2

For the third time the French won the initiative and moved up to the fort with the 4th Legere, leading the way. French re-enforcements turned up, the Cavalry 1st Brigade containing the 23rd and 25th Dragoons, Ian then moved these toward the closest bridge. The British 1st Brigade advanced and started to cross the bridge, an angry group of Spanish villagers joined the British to try and take revenge on the dirty French. From the fort the French once again took heavy casualties, the 70th line lose 4 casualties causing a morale check which they luckily passed. The 2nd Heavy gun in the fort changed targets this turn and fired at the 1st Hussars causing 1 casualty. Lastly the 4th Legere lost 2 figures from infantry fire from the fort.
 |
| The Battlefield turn 3 |
 |
| The 4th Legere move up to the wall while the rest of the French line follow up behind. The 70th on the far right received fire and lost 4 figures. |
 |
| The 23rd and 25th Dragoons move onto the table, to threaten the British on the bridge. |
 |
| The British 2nd Marines lead the way over the bridge. |
 |
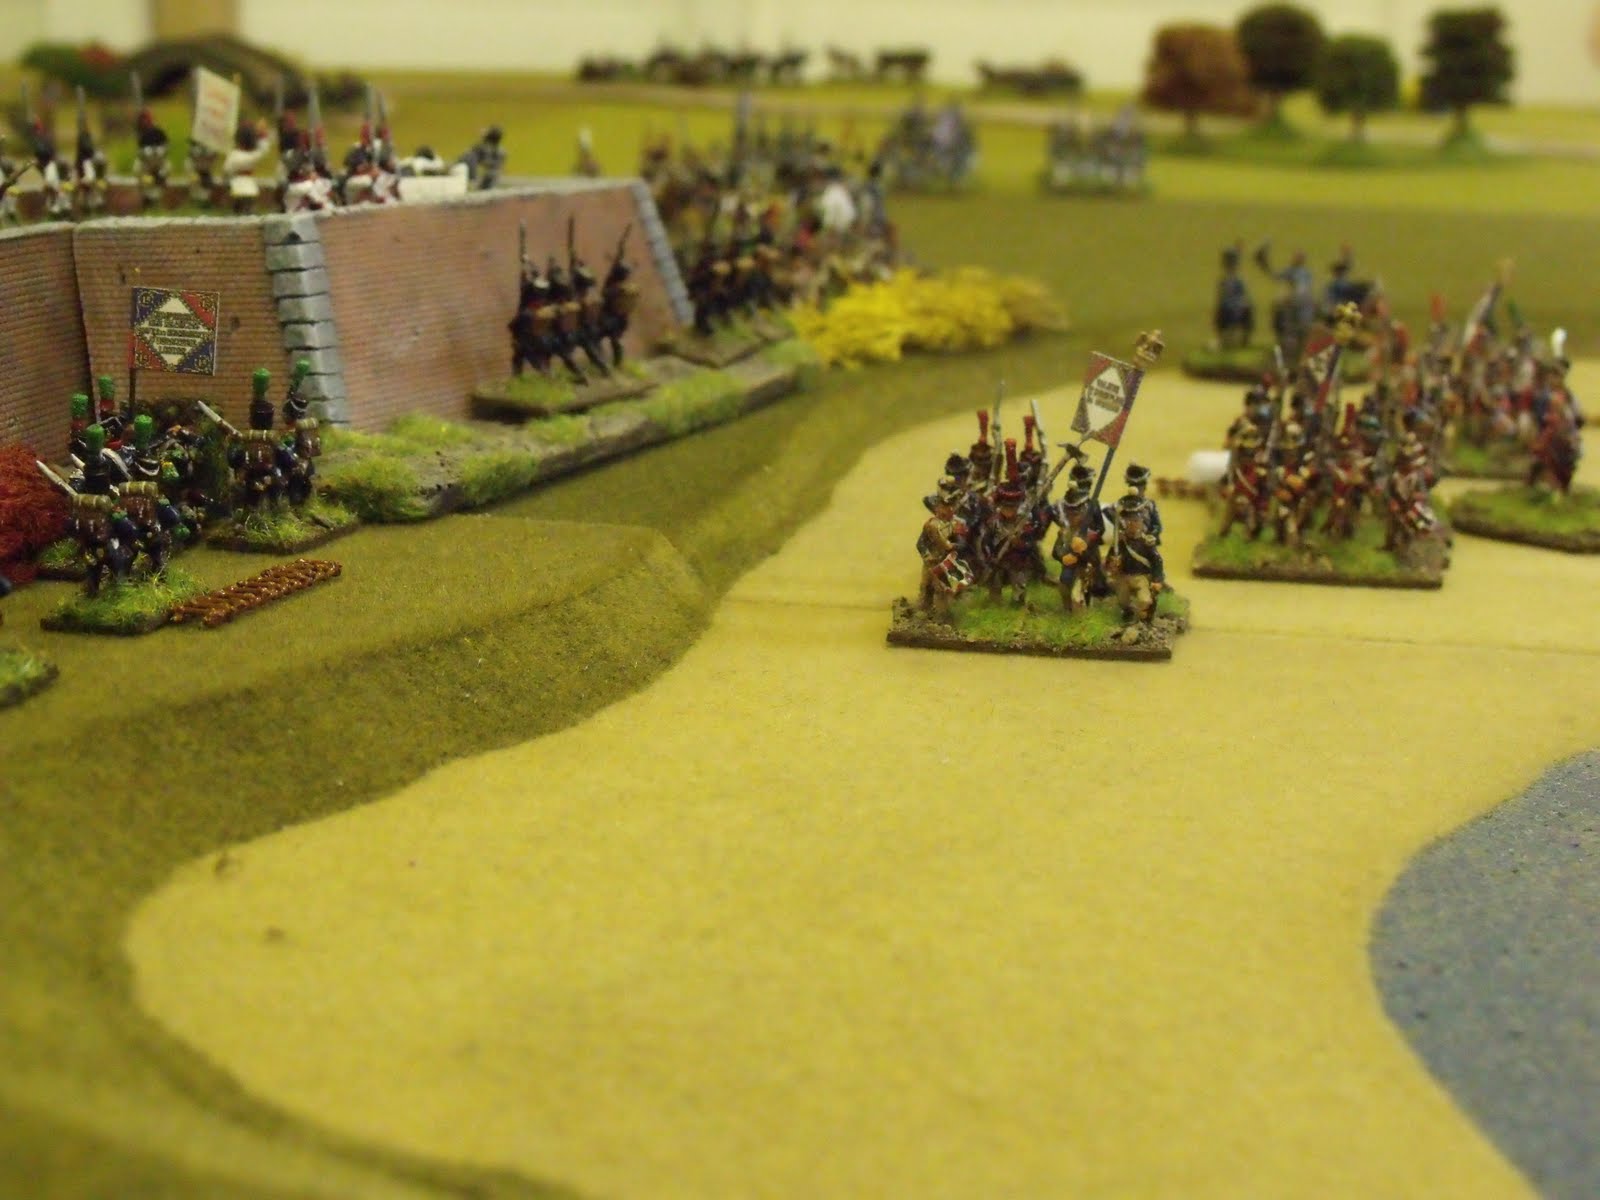
| A close up of the 4th Legere as they advance to the walls, while the Spanish look on. |
 |
| The British 36th Line from the 2nd Brigade. |
The Anglo/Spanish alliance won the initiative for the first time in the game. This was a disaster for the French as it meant they would not get to the bridge by the village first with their cavalry. The 1st and 2nd Marines took advantage of this and advanced over the bridge. The French Cavalry decided to set themselves up to charge next turn. As the 1st Hussars advanced toward the other bridge they saw some movement in the small wood to their left, a unit of Spanish guerrillas moved to the edge of the wood. After taking a battering the last two turns the main French army moved down toward the beach to an undefended wall of the fort, as they advanced they saw the undefended wall was actually defended, Merd!! By a unit of Aragon light infantry. Meanwhile at the front of the fort the 1/14th took 6 casualties, then they wavered and failed their morale and moved back 8 inches. In a very desultory fire phase (actually bloody useless), the French miss all but one Spanish unit, but they do take two figures from the No1 Spanish gun in the fortress. Reducing their firing strength for the rest of the game.
 |
| The 1st and 2nd Marines make ready to be charged. |
 |
| The 10th Chasseurs a Chavel, 23rd and 25th Dragoons get into position for next turns charge phase. |
 |
| Another view of the French Cavalry setting up for a charge. |
 |
| The Spanish No1 gun received musketry fire taking 2 casualties, he he!! The only good piece of fire by the French this turn. |
 |
| The French advance onto the beach to the empty walls, but find it covered by the 1st Aragon Light Infantry |
 |
| The 5/60th Rifles are the first to cross the bridge, heading for the fort. |
 |
| The left bastion, manned by the No 2 gun and the Tuy Militia |
The French cavalry declare two charges against both British Marine units. The 25th Dragoons charge the elite 1st Marines who fail their morale and flee back over the bridge in disorder. The 10th Chasseurs a Cheval charge the 2nd Marines, who manage to form square as the French move in, not good for the Chasseurs! Even worse is the fact that they then lose two figures going in, they then failed their morale to close in.
To all of our surprise, especially Richard’s the French get some more re-enforcements, and what re-enforcements they were, 4 battalions of elite combined Grenadiers and a heavy gun, they come on, in the middle edge of our side of the table and move immediately forward to try and cut off the advance of the British 2nd Brigade, on the far side of the table. Then in the Allied movement turn there’s another surprise, this time against the French, the 5th Spanish Borbon Horse and the 5th Villavicosa Dragoons appear behind the fort and immediately move right to make their way around to the beach to threaten the French at the side of the fort. Another unit of Spanish guerrillas appear in the woods behind the 23rd Dragoons, who lose 1 figure.
Another absolutely useless round of firing by the French (me!!!), was made worse when the Spanish threw very well again (Damn you Elders!!) and there Heavy gun No1 killed 2 more figures from the 1/14th, while No2 inflicted 4 hits on the 3/2nd Vistula Legion. In the French fire phase the 2/14th and 3/14th Line both fire and destroy the Spanish No1 heavy gun.
 |
| The 25th in the centre alting at the point where the 1st Marines fled. Note the Spanish Guerillas at the top right who fire on the flank of the 23rd Dragoons. |
 |
| The French re-inforcements arrive, 4 units of Combined Grenadiers |
 |
| The Spanish re-inforcements also turn up, although Richard the Spanish commander decided when they appeared on the table top, This threw an almighty spanner into my French plans!! |
 |
| The French move up to the side of the wall, all French fire misses its target!! |
 |
| The 1st, 2nd & 3rd Battalions of the 2nd Vistula Legion, start to move toward the fort. They had been holding back to support the attack, but were moved up to join the attack |
 |
| A view of the French advance along beach, the leading coloum is the 70th followed by the Paris Municipal Guard and the 4th Swiss |
 |
| Another closer view of the attack along the beach, the red coats of t he 4th Swiss are now more clearly visable. |
And so ends part two, part 3 to follow shortly.
Thanks
Ray
Again, great report and a very sharp looking game. How big a table did you have for this scenario? The center bit looks like it would be a good stretch!
ReplyDeleteGreat stuff! Love the photos and am looking forward to part III!
ReplyDelete@Curt - The table was 12 x 6 foot,a massive board for not that many troops!!
ReplyDeleteEpic battle! :D
ReplyDeleteIf I had pictures like that I would have a very hard time remembering exactly when and what they are, to describe it later step by step cannot be easy. That even happens with regular pics.
ReplyDeleteI can almost smell that pig-roast in the fort, and maybe the French could too.
...going...through...wargame...withdrawals...must...game...soon...
ReplyDeleteRay, what rules were used for this battle? Homegrown or commercial?
It was very difficult, I must admit, trying to play the game and write down what everyone was doing at the same time. After the game I go through what I've written and try and decipher my dodgy handwriting and fill in any blanks before I forget. Then swallow a couple of headache tablets!
ReplyDelete@ Justin - They're Posties version of General de Brigade, he's made lots a little changes and added some of his own ideas.
ReplyDeleteI think you are better than most mmmm
ReplyDeleteThanks, Ray. I think have GdB...somewhere... and thanks for the info on BLB, too!
ReplyDeleteExcellent batrep, Ray!
ReplyDeleteStringing it out like this builds up the tension. I want to find out who wins!
Excellent read and anxiously awaiting Pt 3.
ReplyDeleteEnjoying the reports so far and looking forward to the final part. Nice photos
ReplyDeleteReally good AAR. Lovely figures again. I really like the fort. The scale looks just about perfect. Awesome stuff.
ReplyDeleteGreat stuff - looks like you need to take your Frogs through some marksmanship revision! Looking forward to Part 3 mate
ReplyDeleteHi
ReplyDeleteReally like the Vauban fortifications and thats a rather nice bridge too. 12x6 with smallish forces would be great for manvouvering
Cheers
Cracking bat-rep, though it's a sad day for the French when they can't outshoot the Spanish.
ReplyDeleteThat´s a cracking set up!!! The castle...sorry redoubt...what make is it??
ReplyDeleteCheers
paul
great battle report and some nice looking figures and terrain
ReplyDelete@ Paul - The redoubt comes from Magister Militum, here's a link:
ReplyDeletehttp://www.navigatorminiatures.com/prodtype.asp?PT_ID=142&strPageHistory=cat
wow! That battle must have been alot of fun!
ReplyDeleteLooks like things are turning against the French. Super work!
ReplyDeleteChristopher
How long does it take for every move?
ReplyDeleteYou can visit my blog here.
@Chris Axebreaker - It does seem that way doesn't it!!
ReplyDelete@ Patti D - On average It takes around 30 minutes per turn, sometimes if there's a lot of firing or fighting it may take longer, but it never seems to take that long though, when your playing!
An excellent post Ray. Well written too. I am looking forward to part 3.
ReplyDeleteNot to rush you, Ray, but I cannot wait for part 3.
ReplyDeleteExcellent stuff Ray.
ReplyDeleteGreat read so far Ray!! The Spanish seem to be very un-Spanish like in their shooting exploits so far!
ReplyDelete